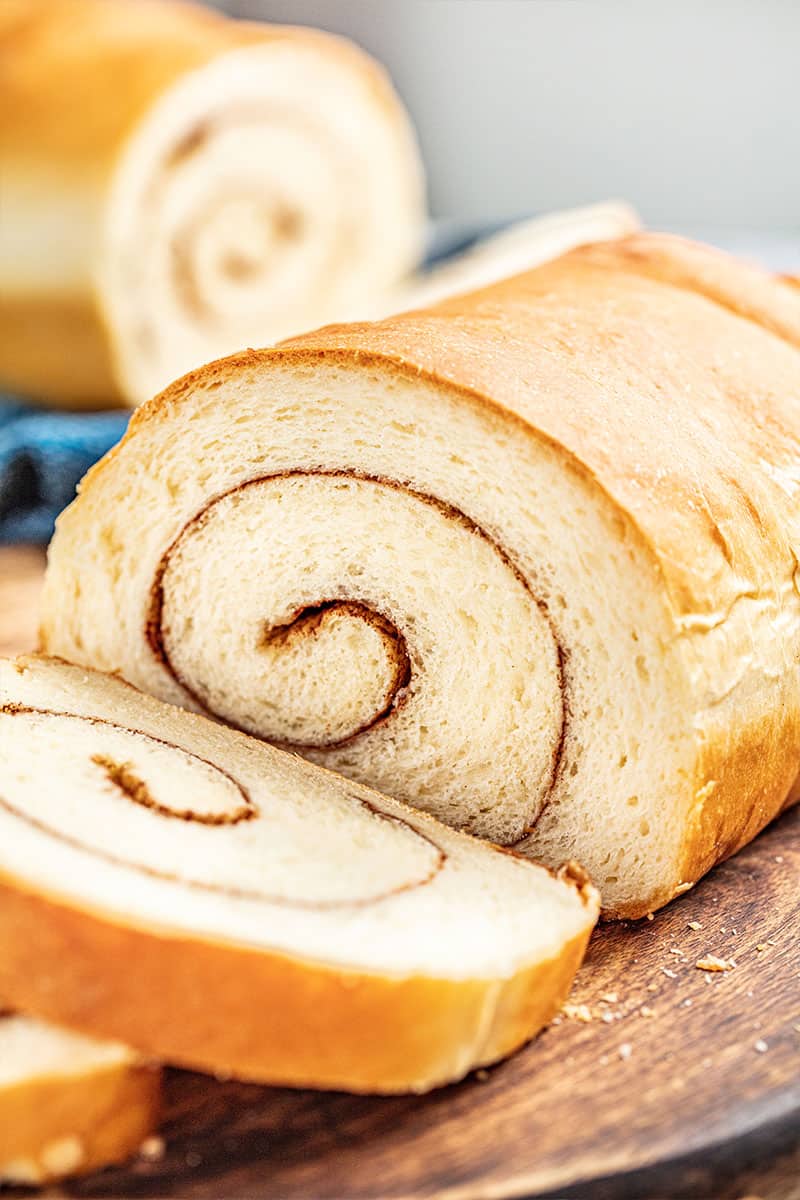
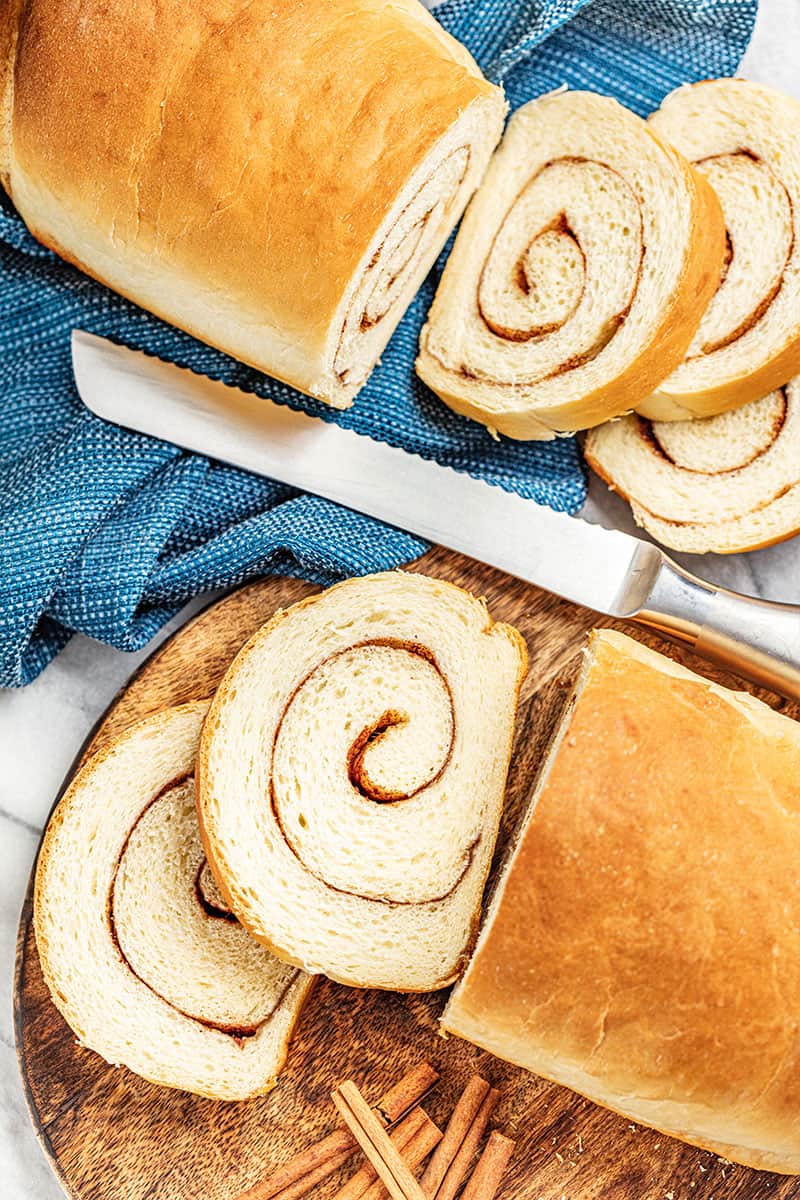
Cinnamon swirl bread is the adult version of cinnamon sugar toast. We have fond memories of sprinkling a hefty amount of cinnamon and sugar over buttered toast as kids. It was a breakfast favorite. Today, we have graduated our cinnamon sugar toast to a much more elegant cinnamon swirl bread. Rather than sprinkle it on top, the cinnamon sugar is baked throughout the bread in a beautiful swirl pattern. This is still amazing as toast with a pat of butter, or as the base of a very fancy french toast!
Make by Hand Instructions: You do not need a stand mixer to make cinnamon swirl bread, and it is quite simple to make by hand. Simply mix your ingredients in a large mixing bowl with a wooden spoon. If it becomes too difficult to mix with the spoon, you can switch to mixing with your hands. Knead by hand for approximately 5 minutes. Serving Suggestions for Cinnamon Swirl Bread: There is nothing better than freshly toasted cinnamon swirl bread with a pat of butter on top. For a truly decadent experience, use this bread to make french toast! Dairy Free Options: We’ve found that the best dairy free milk alternatives are higher in fat, such as oat milk or soy milk, and always unflavored. The best butter alternative in baking are plant based butter sticks. Margarine or other tub-style butters do not bake as well. You should be able to find plant based butter sticks in your local grocery store next to the dairy butter, or in their own vegan and vegetarian section. All Purpose Flour vs. Bread Flour: We prefer to make our bread recipes suited to all purpose flour, because it is the most accessible flour, and likely to already have in the pantry. However, if you prefer baking with bread flour, you can always substitute that in 1:1.
Cinnamon Raisin Bread Instructions: Do you love cinnamon raisin bread? Simply add 1/2 cup raisins to your cinnamon sugar blend and sprinkle over your rolled out and buttered dough. Make Ahead (Overnight) Instructions: Sometimes breads with long rise times just cannot fit into our day. To make it a bit more simple, mix your dough in the evening and let it do its first rise in the fridge. You will want to cover your dough with tight fitting plastic wrap to keep it from drying out. In the morning, take it out of the fridge and let it rest and warm up for about 30 minutes. Then, divide your dough into two equal pieces and continue on with Step 4 of the recipe. Storage Instructions: Store your cooled bread in an airtight container such as a zip-top bag or a bread box. It should last for 2-3 days before drying out. Freeze any leftovers that you don’t anticipate finishing in 2-3 days Freezer Instructions: You have two options when it comes to freezing this recipe: Freeze the dough itself before baking: Follow the written instructions through the beginning of Step 4. After your first rise you will want to divide the dough into two even pieces. Wrap your two dough balls in several layers of plastic wrap, and then place inside a freezer safe plastic bag. Freeze up to 3 months. Thaw in the fridge overnight and then proceed with the rest of Step 4. Freeze the bread after baking: Wrap your loaf of bread in several layers of plastic wrap and place it into a large freezer safe bag. Your bread should last in the freezer for 3 months. Thaw either in the refrigerator or on the counter.
Watch the video below where Rachel will walk you through every step of this recipe. Sometimes it helps to have a visual, and we’ve always got you covered with our cooking show. You can find the complete collection of recipes on YouTube, Facebook Watch, or our Facebook Page, or right here on our website with their corresponding recipes. Freeze the dough itself before baking: Follow the written instructions through the beginning of Step 4. After your first rise you will want to divide the dough into two even pieces. Wrap your two dough balls in several layers of plastic wrap, and then place inside a freezer safe plastic bag. Freeze up to 3 months. Thaw in the fridge overnight and then proceed with the rest of Step 4. Freeze the bread after baking: Wrap your loaf of bread in several layers of plastic wrap and place it into a large freezer safe bag. Your bread should last in the freezer for 3 months. Thaw either in the refrigerator or on the counter.
Ultimate Guide to Homemade BreadHomemade Cinnamon RollsCinnamon Twist BreadPerfect Homemade French BreadUltimate Guide to Sourdough Bread
Δ Δ


![]()